
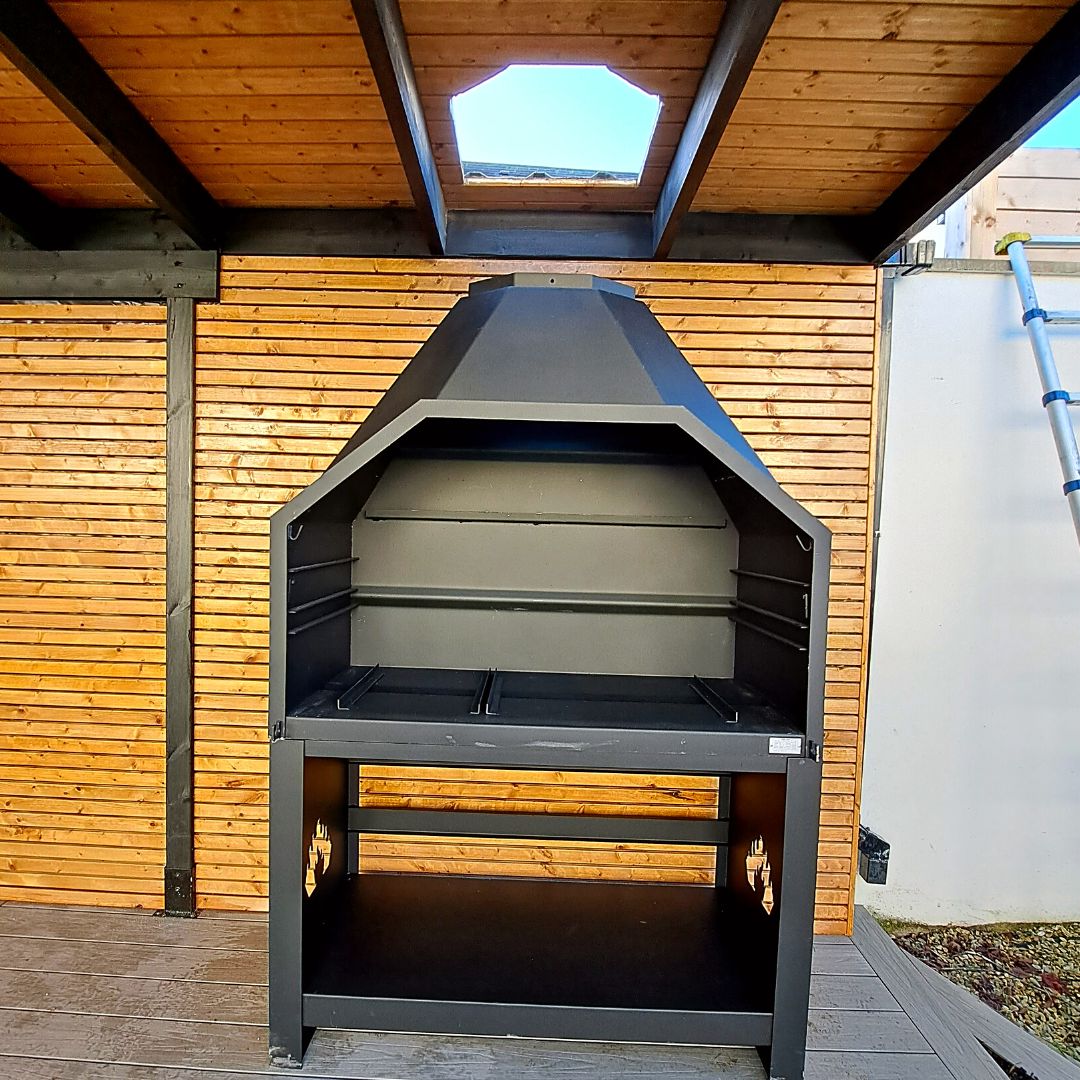
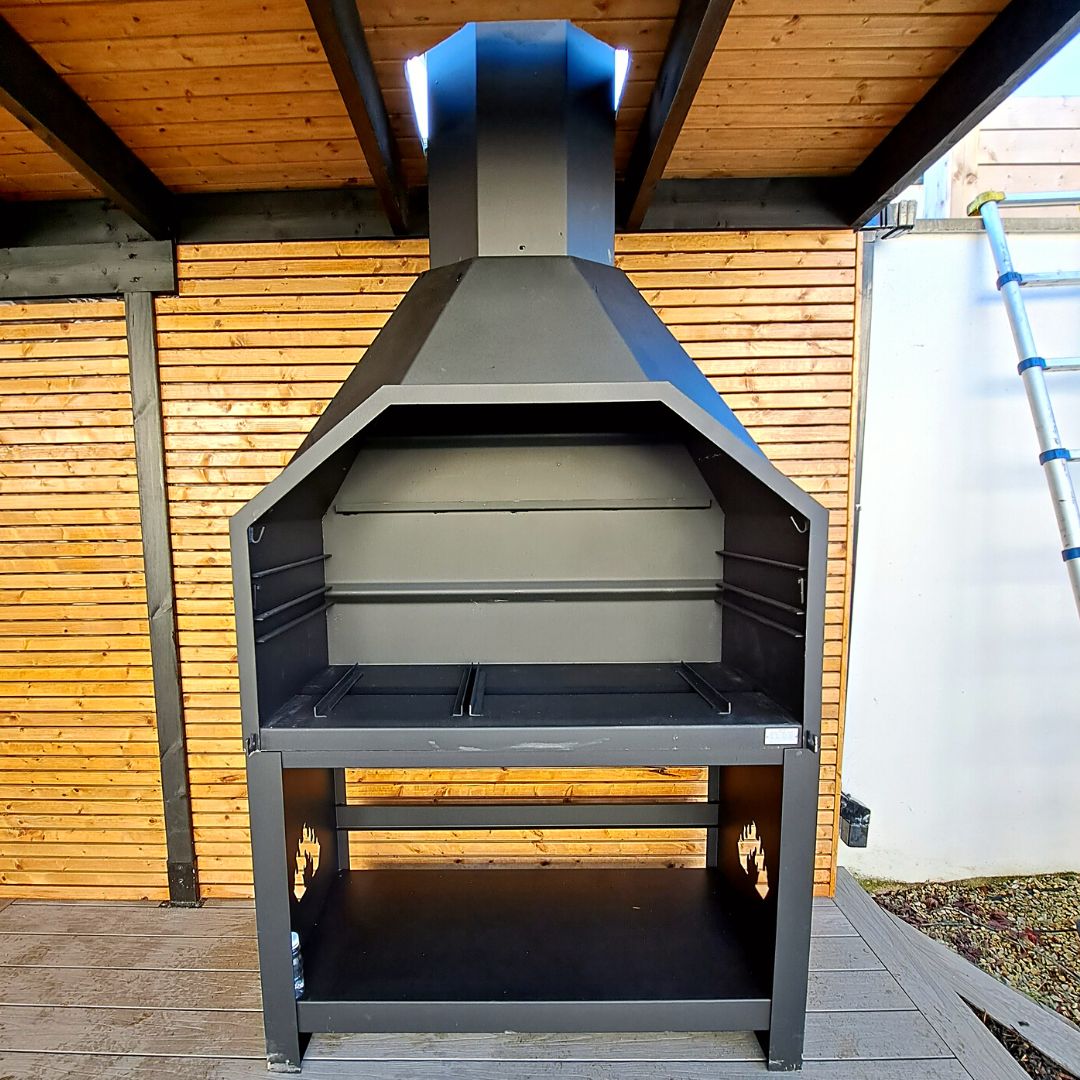
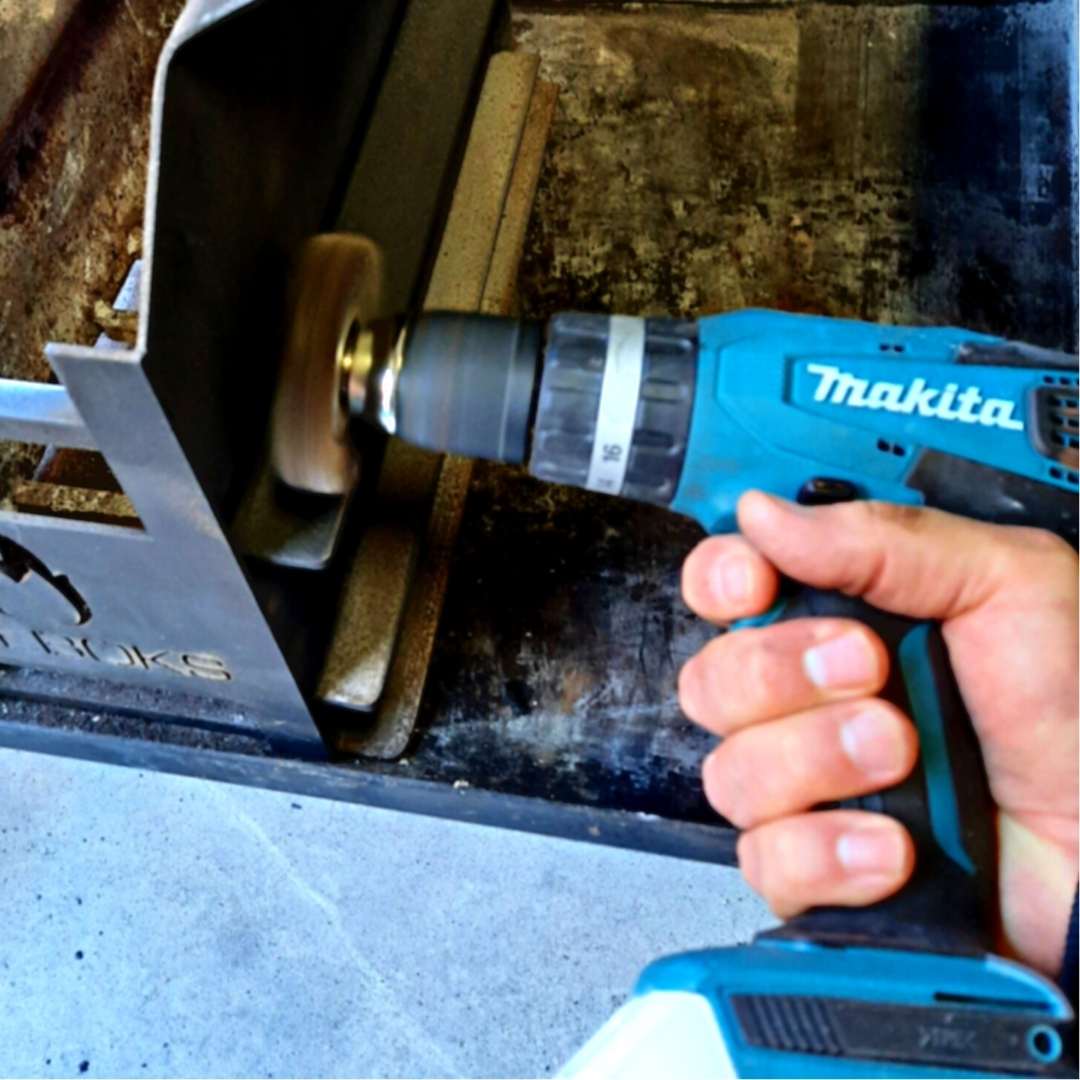
Installing the Freestanding Braai
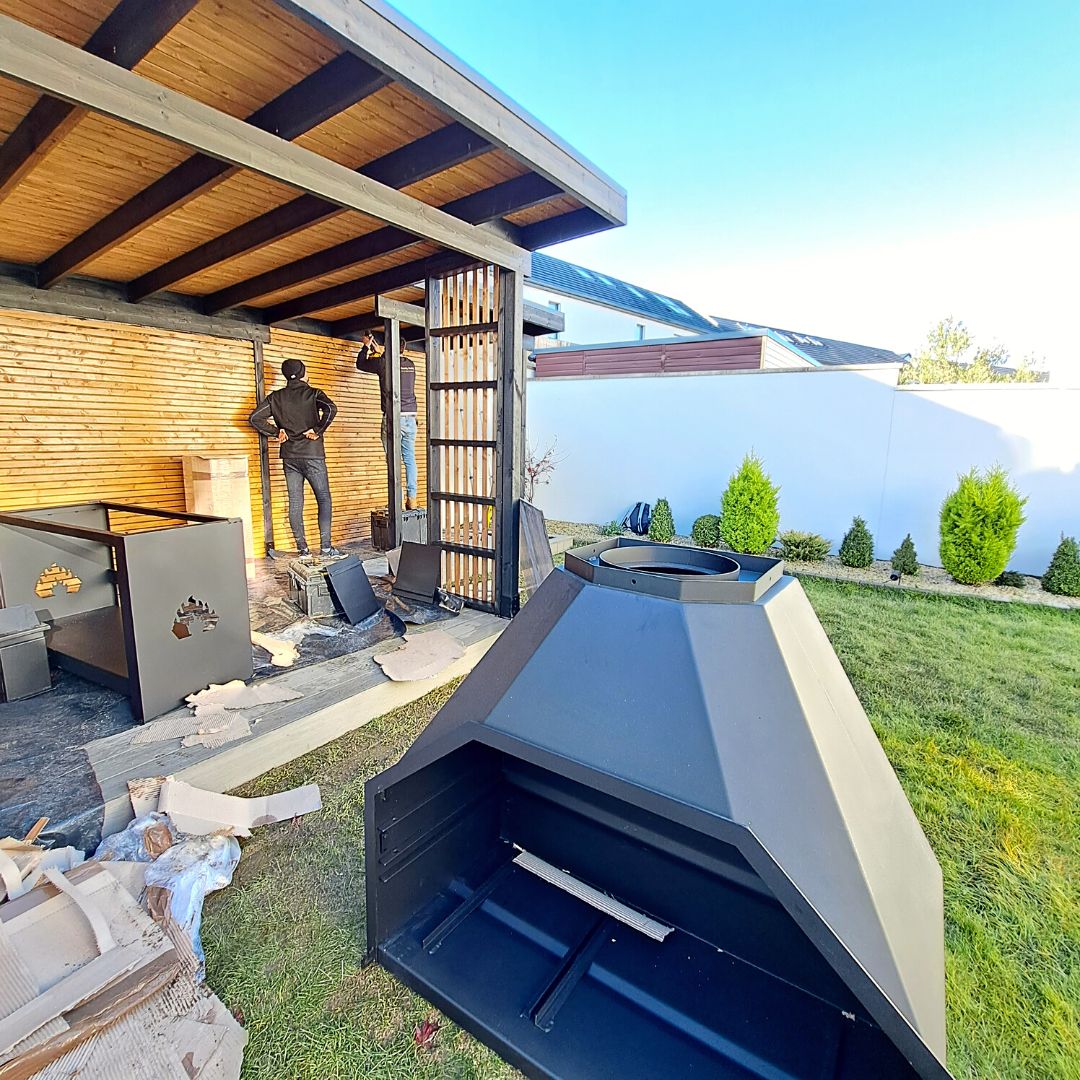

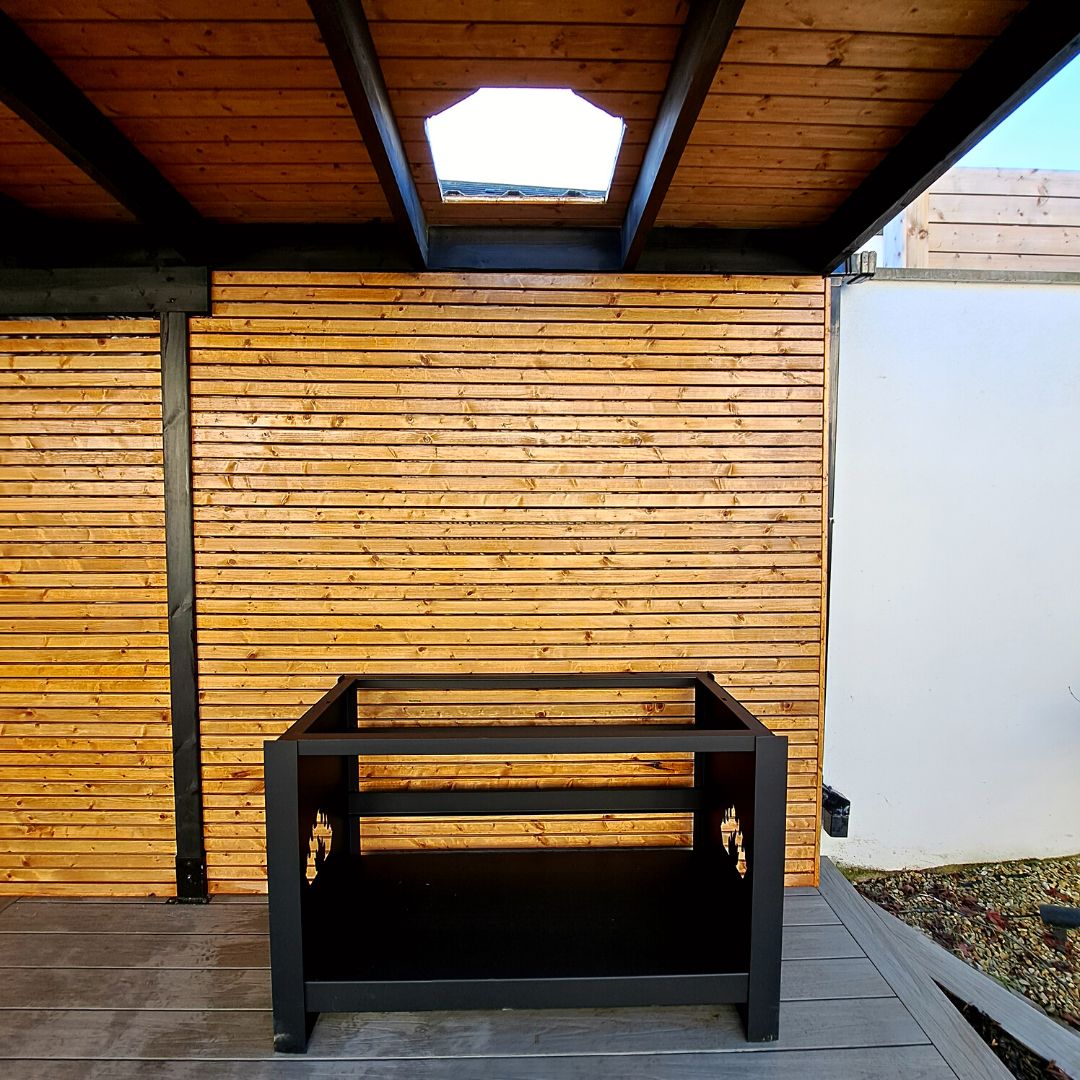


These units are VERY HEAVY and will require a few people to manoeuvre it. We recommend using protective gloves and appropriate footwear when unpacking and installing your new braai.
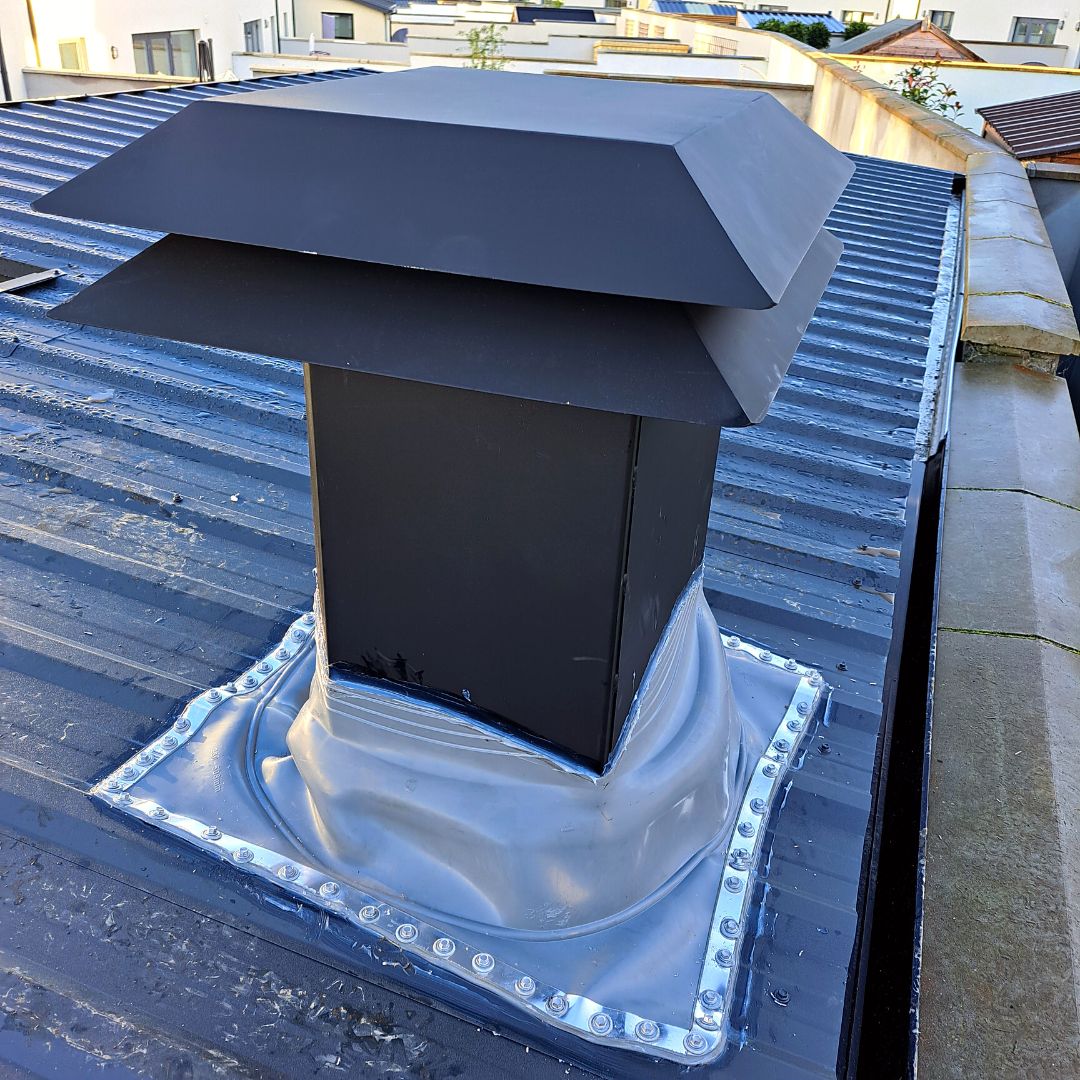
Flashing in a few Easy Steps
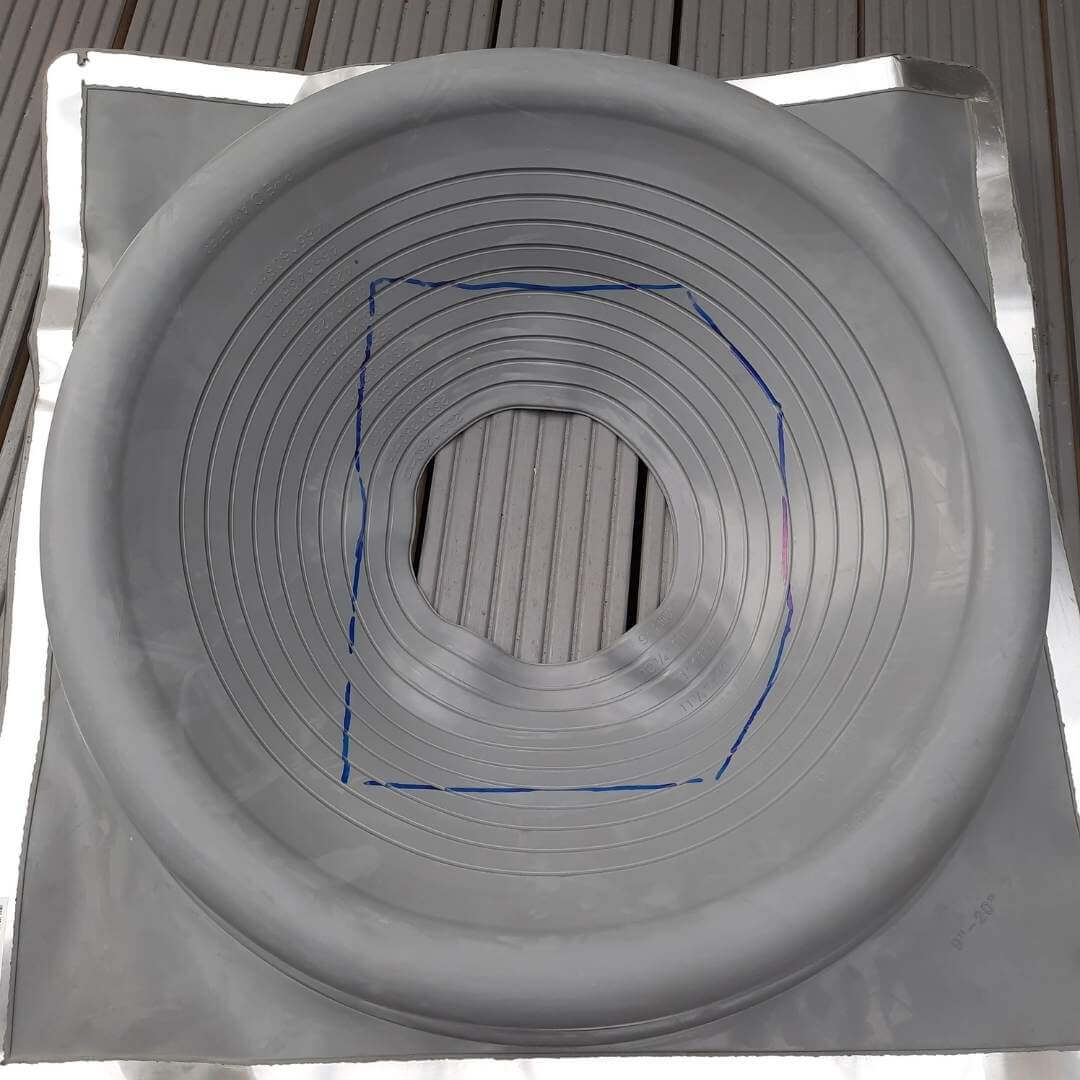

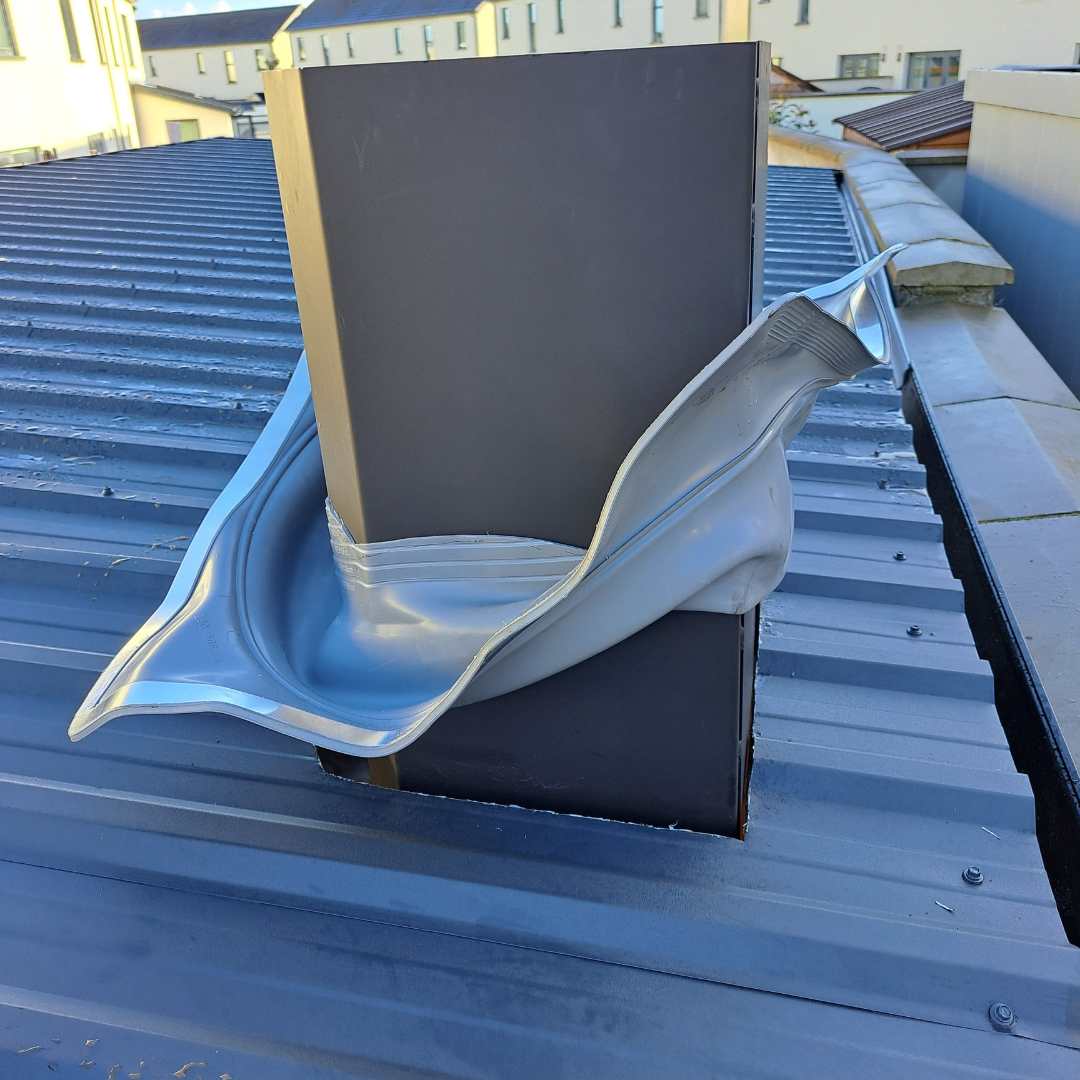
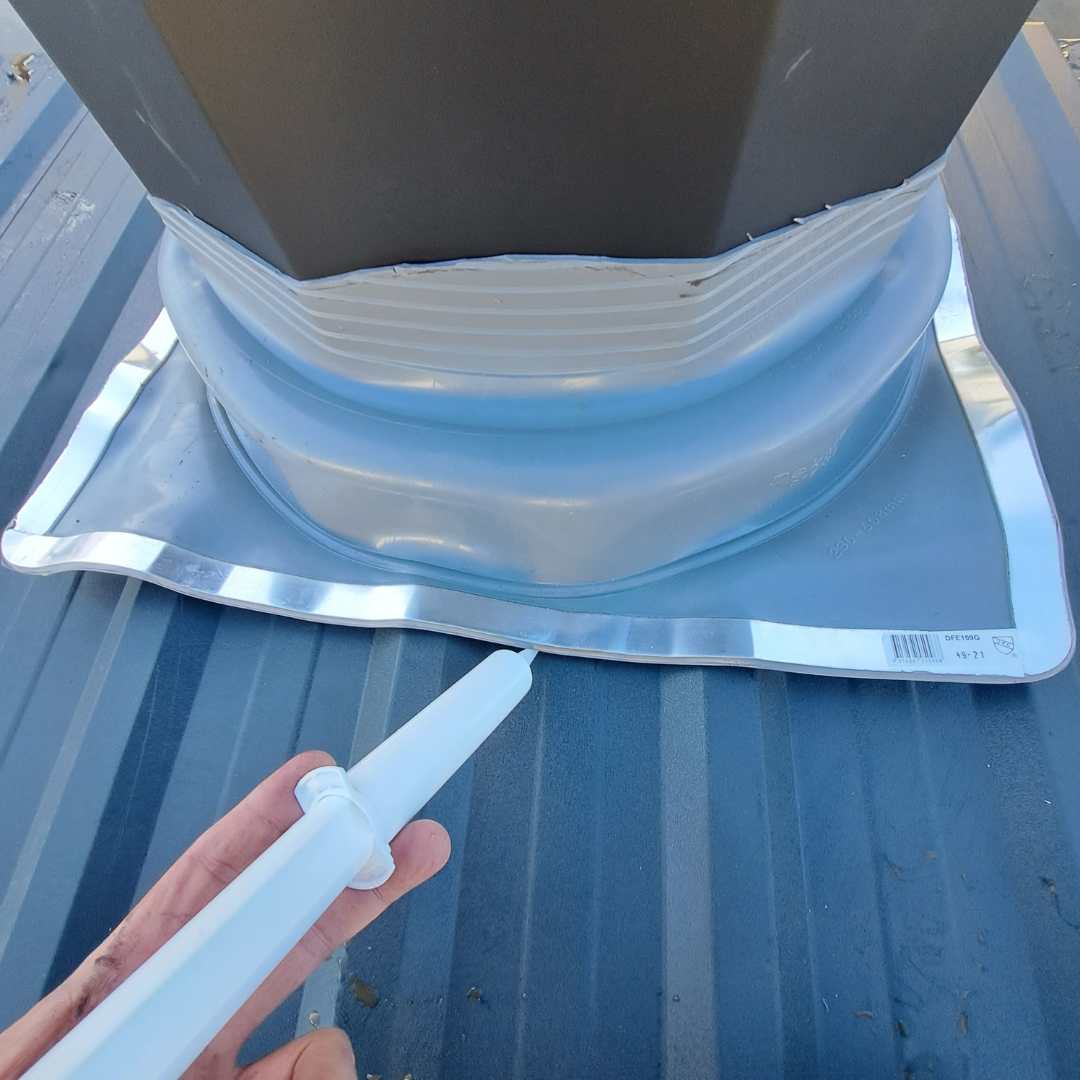
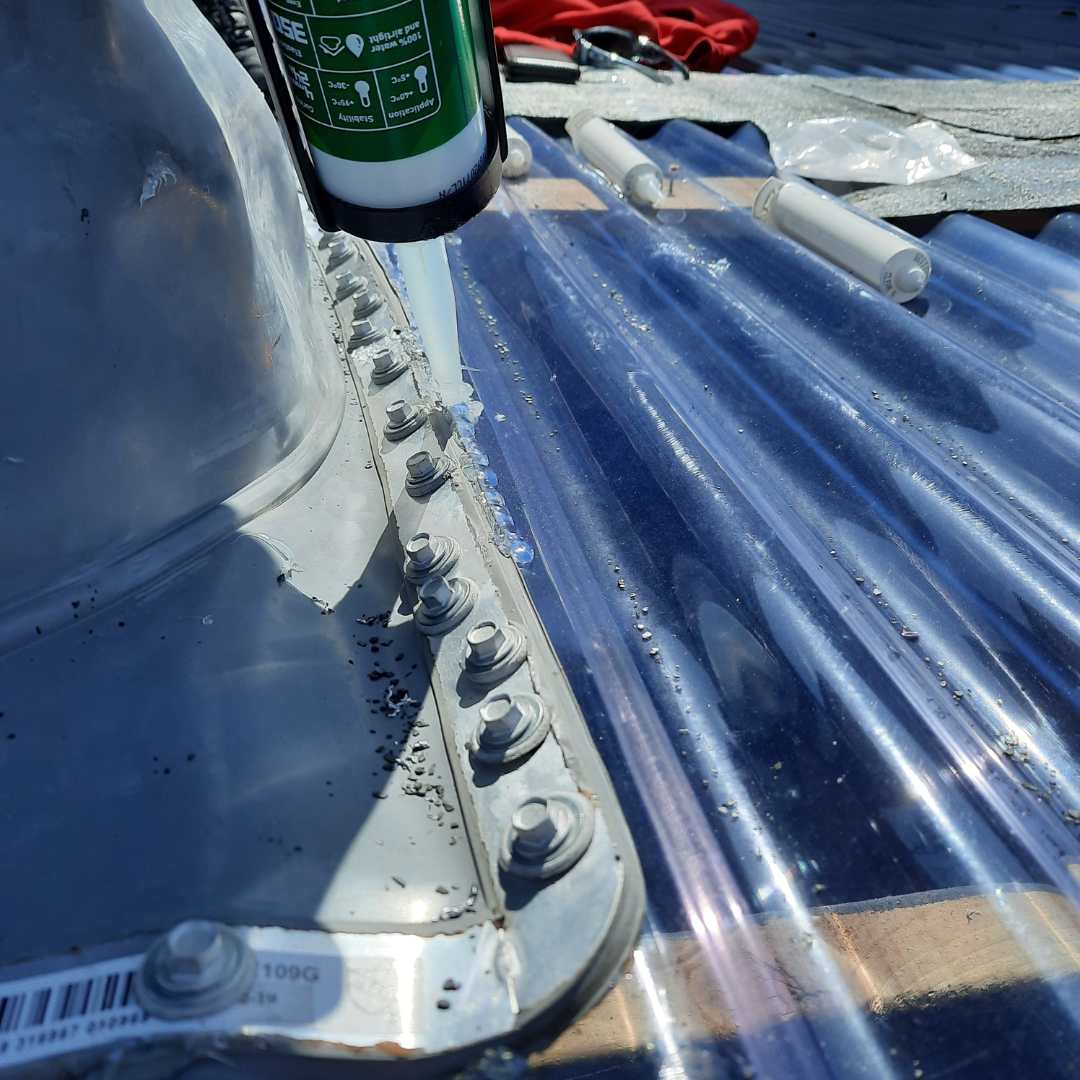
A quick look at the basic steps for installing a freestanding braai that will be protruding through a metal, fibreglass, steel, wood or plastic roof structure. There are other ways to do this but this is fairly straight forward. Always get professional advice and support when doing this- never attempt it alone.
”When in doubt, source it out”
Corrosion and a few easy steps to treat it


We suggest that where possible it is best to place these units indoors or covered under a pergola or roof.
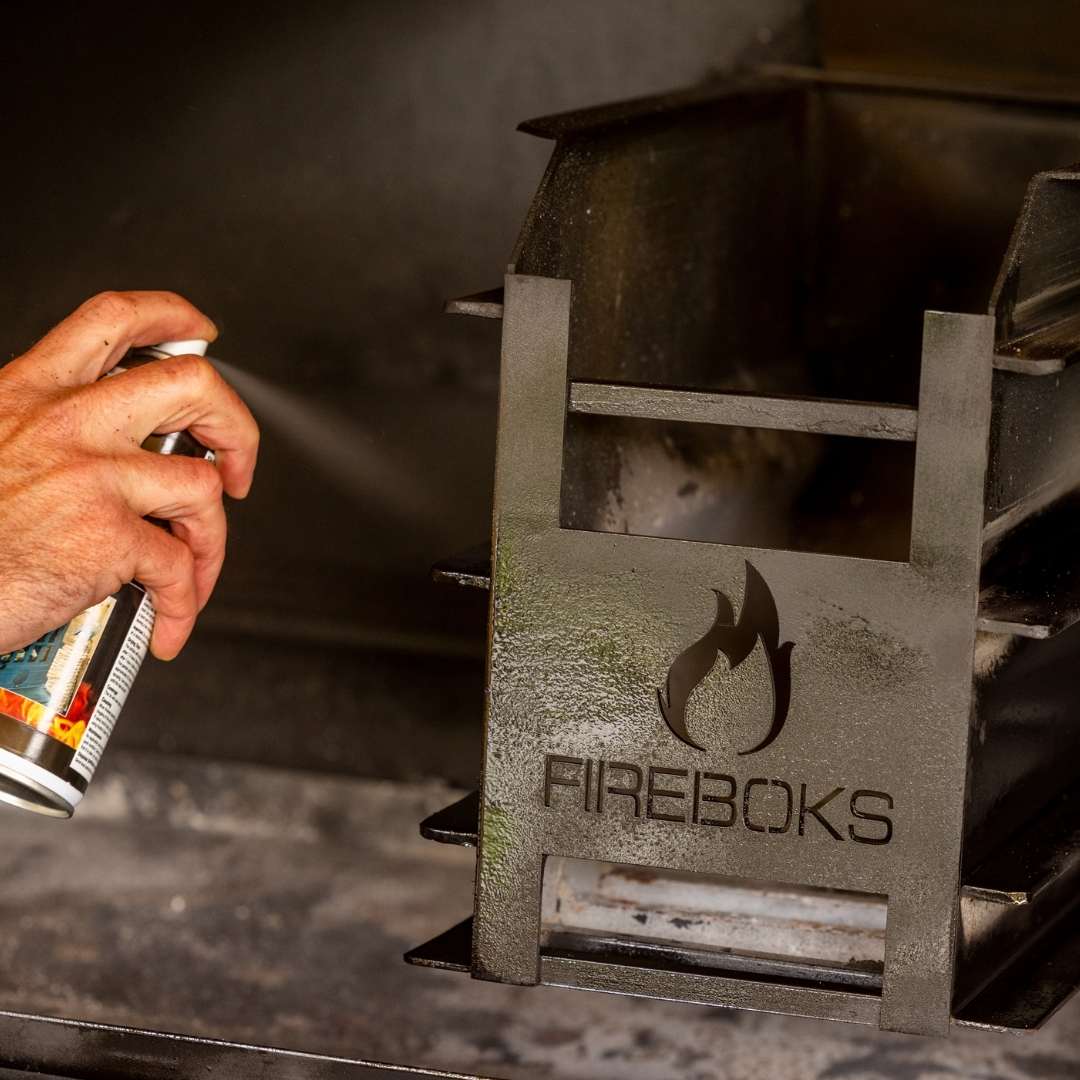
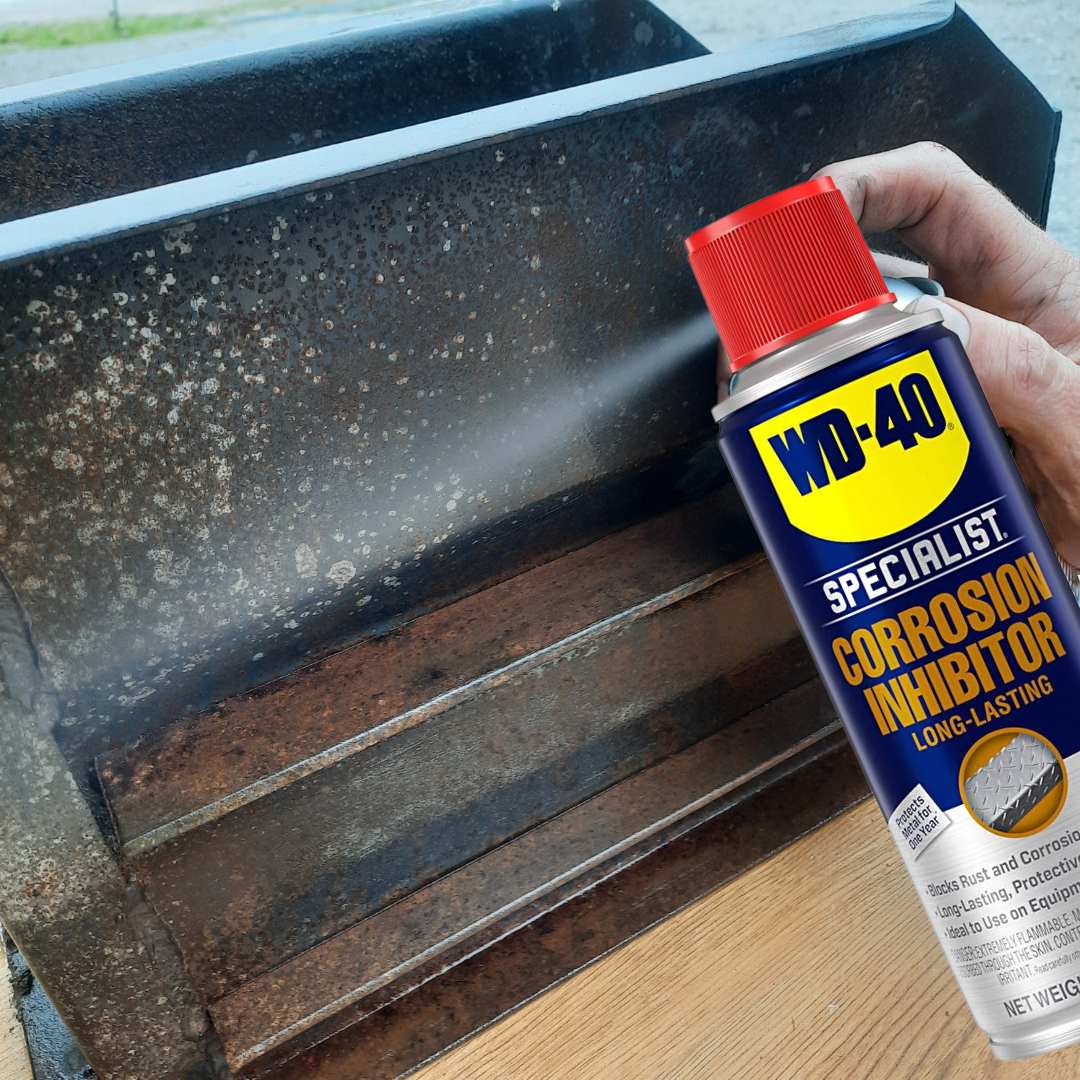
Also ensure that you give a coat of a corrosion resistant substance like a WD40 spray or simply a coat of cooking oil from time to time.
Choosing stainless steel BBQ’s is a sure fire way (no pun intended) to ensure protection against corrosion.
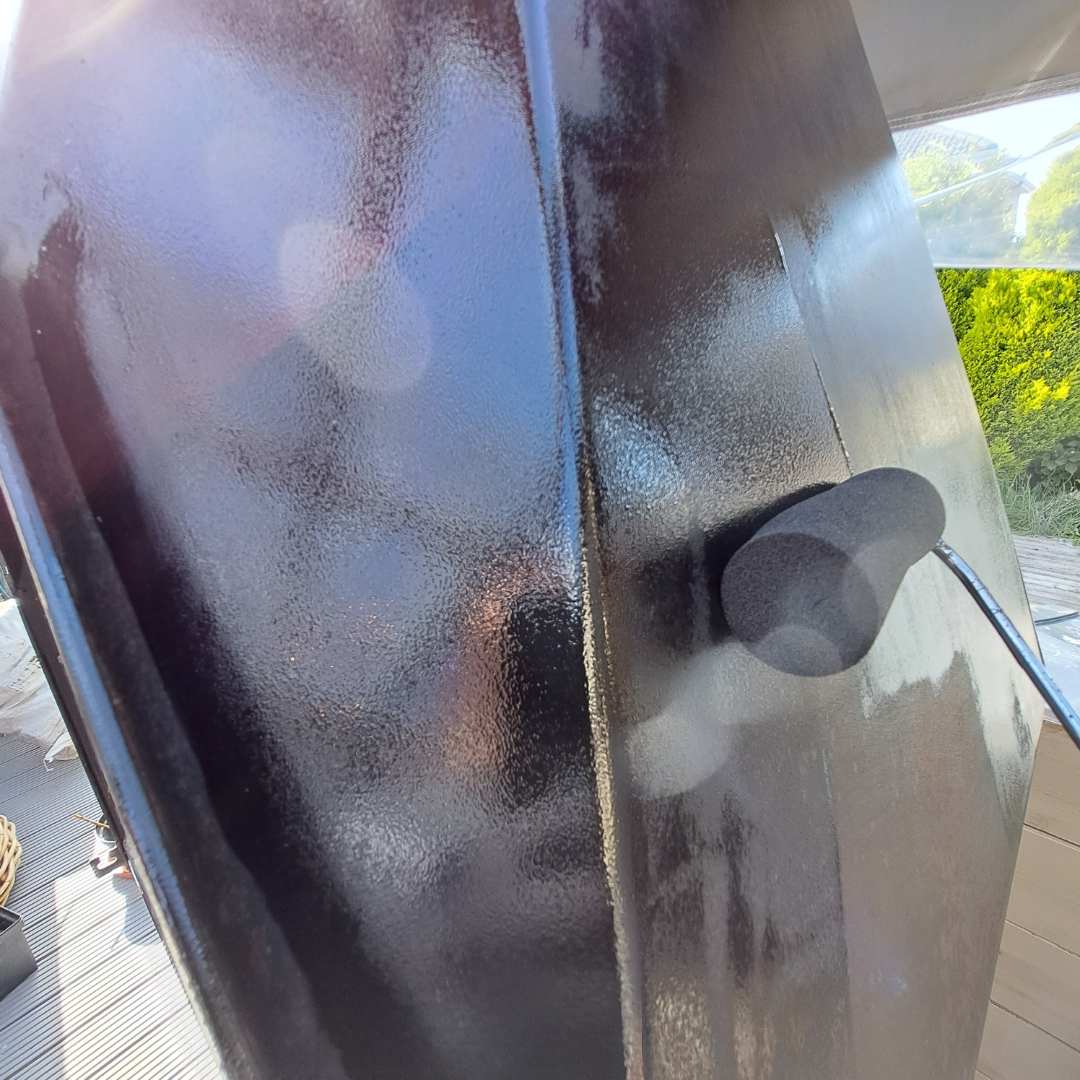
If however you prefer a mild steel unit but are concerned about the effects of corrosion- rest assured, there are very simple ways of preventing, negating and treating corrosion. There is an upside to this- The beauty of treating your unit from time to time means that you can have a ‘new’ bbq every time you treat it!
The beauty of our mild steel units are that with just a little effort, once a year you can have fresh new braai at the start of each season! The robust build means that the unit will be around for many (many!) years. By understanding the reasons behind corrosion and taking steps to protect their braai, owners can ensure that their braai remains in good condition for many years to come.
Too much humidity (especially close to the ocean) or water on metal surfaces combined with heat are the primary causes of corrosion.
Mild steel barbecues are popular choices for outdoor cooking, but they can be prone to corrosion. Corrosion is the natural process of oxidation which occurs when metal reacts with oxygen, water and other substances in the atmosphere. Mild steel, in particular, is highly reactive and can corrode quickly if it is not protected. Additionally, the black paint on most BBQ’s can start to chip away over time, allowing moisture and air to reach the steel beneath and hasten the corrosion process.
Fortunately, corrosion is a normal and expected process, and there are ways to treat and prevent it. Additionally, regularly cleaning the BBQ after use can help to prevent the build up of grease and other substances which can accelerate the corrosion process.
Check out our BBQ refresh kits available in our online shop!
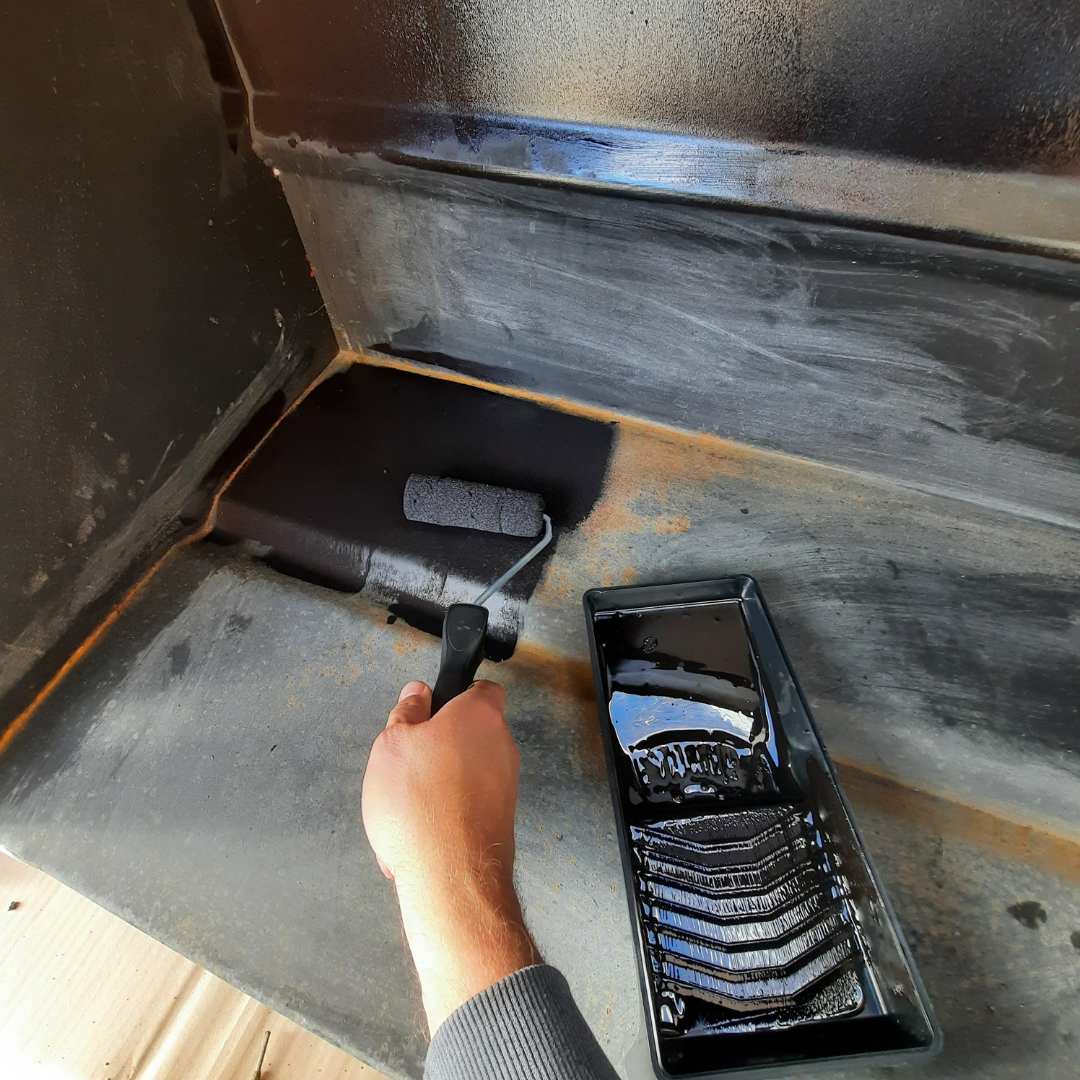
Remove the rust: Use a wire brush, sandpaper, or a steel wool pad to scrub away as much of the rust as possible. Make sure to wear gloves and a dust mask to avoid inhaling rust particles.
Clean the braai: Use a mixture of water and soap to clean the braai thoroughly. Rinse it off with water and let it dry completely.
Apply a rust converter: Use a phosphoric acid-based rust converter that is suitable for use on mild steel. The rust converter will react with the rust and convert it into a stable surface that can be painted over. Follow the manufacturer’s instructions for application.
Paint the braai: Once the rust converter has dried, apply a high-temperature paint to the braai. The paint will protect the metal from further rust and corrosion. Make sure to use a paint that is suitable for use on high-temperature surfaces.
Where posisble keep it under cover. This will help protect it from the elements and prevent rust from forming.
Regular maintenance: Clean the braai regularly to remove any dirt and debris that can cause rust to form. Apply a rust inhibitor, such as a light oil or a spray-on rust inhibitor, to the surface to help prevent corrosion.
By following these steps, you can effectively treat rusted areas.
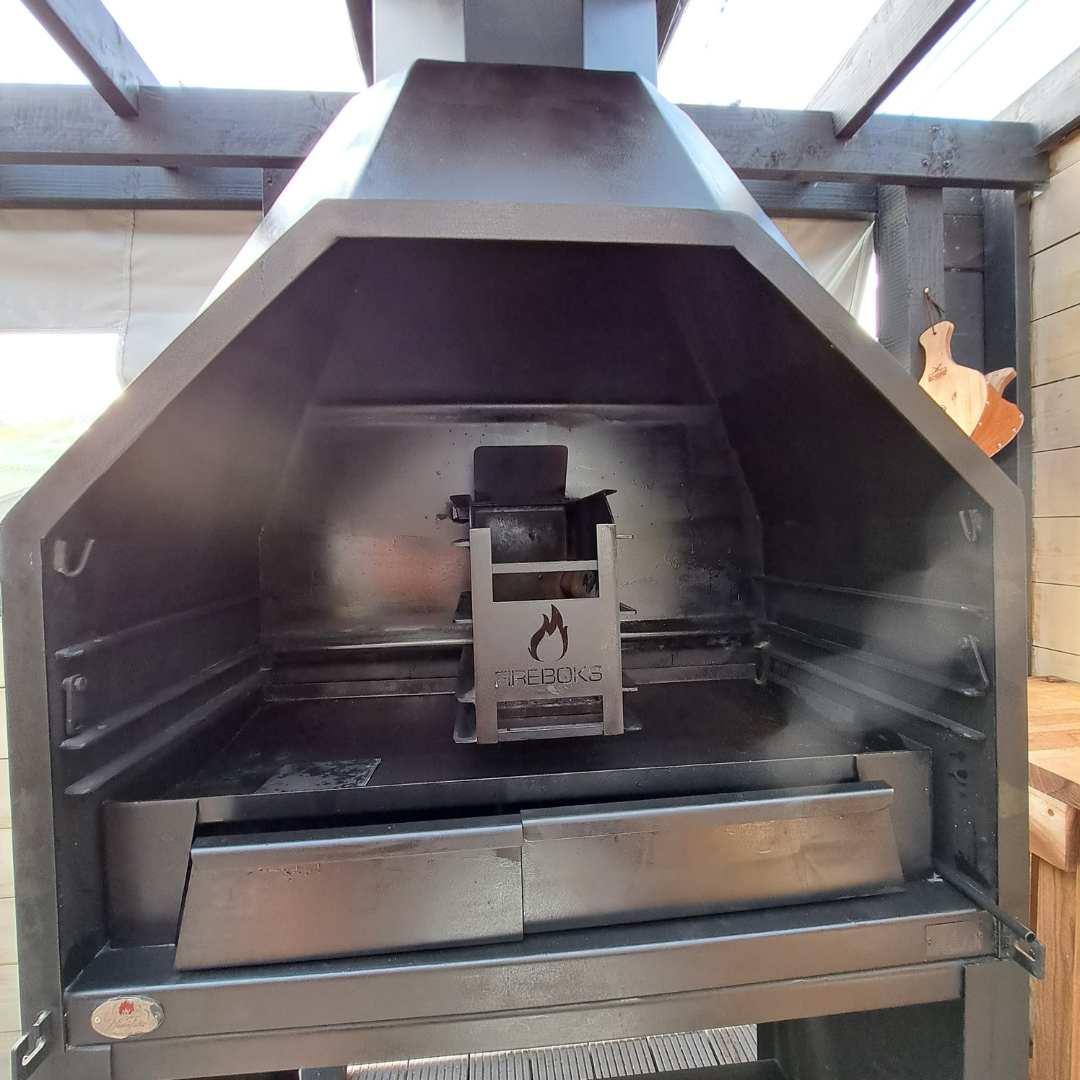
Factors that could lead to a 'smoky braai'


When setting up any BBQ, such as a Home Fires freestanding braai, under a pergola or indoors, there are several factors to consider to minimize smoke and prevent the room or area from becoming smokey.
Please speak to one of our advisors should you have any questions.
Here are a few factors to consider:
Proper ventilation is essential when using a any BBQ indoors or under a roof. If the BBQ is located in an enclosed area such as a small pergola or indoor space, near high walls, buildings or other roofed areas smoke is more likely to build up and become overwhelming. Consider a larger open-air space or a location with more ventilation. The flue that protrudes through the roof should be properly installed and maintained to ensure that smoke and other harmful gases are adequately vented out of the area.
The flue’s height and width should be appropriately sized to ensure that it effectively removes smoke from the area without allowing it to billow back into the space. Our braai’s have the correct size flues for standard conditions. Should your conditions require extensions and or insulated flues, we can assist and supply you with the necessary equipment.
Wind direction can also have a significant impact on the amount of smoke generated. If the wind is blowing in the direction of the pergola or indoor area, smoke can quickly build up and become overwhelming. When setting up any BBQ, consider the wind direction and choose a location that minimizes the impact of wind blowing smoke back into the area.
Different types of solid fuel can produce varying levels of smoke. Hardwood charcoal and natural lump charcoal are generally considered to be the best options for producing minimal smoke, while certain briquettes and wood types with a hoger moist count can produce more smoke.
The location of the BBQ can also impact the amount of smoke generated- it is crucial to consider its proximity to another building or house. Being too close to another solid structure can affect the draw in a negative way. Even a house with a BBQ that is situated at the bottom of a hill or next to a mountain can have the draw of the smoke affected by the proximity to the hill/mountain
A fan that can be added to the top of a flue is a great solution for those who want to improve the extraction of smoke. The fan is typically installed at the top of the flue and is powered by electricity. It works by drawing the smoke and fumes out of the BBQ and pushing them up and out of the chimney. It is essential to ensure that the fan is compatible with the size and shape of the flue and that it meets local building codes and regulations.
By considering all these factors and taking appropriate measures, it is possible to minimize the amount of smoke generated and ensure safe and enjoyable outdoor or indoor cooking experience.
- Add kindling with firelighters and Light her up!
- Keep adding good dry wood
- Watch the embers drop and spread’m in under the grid!!


